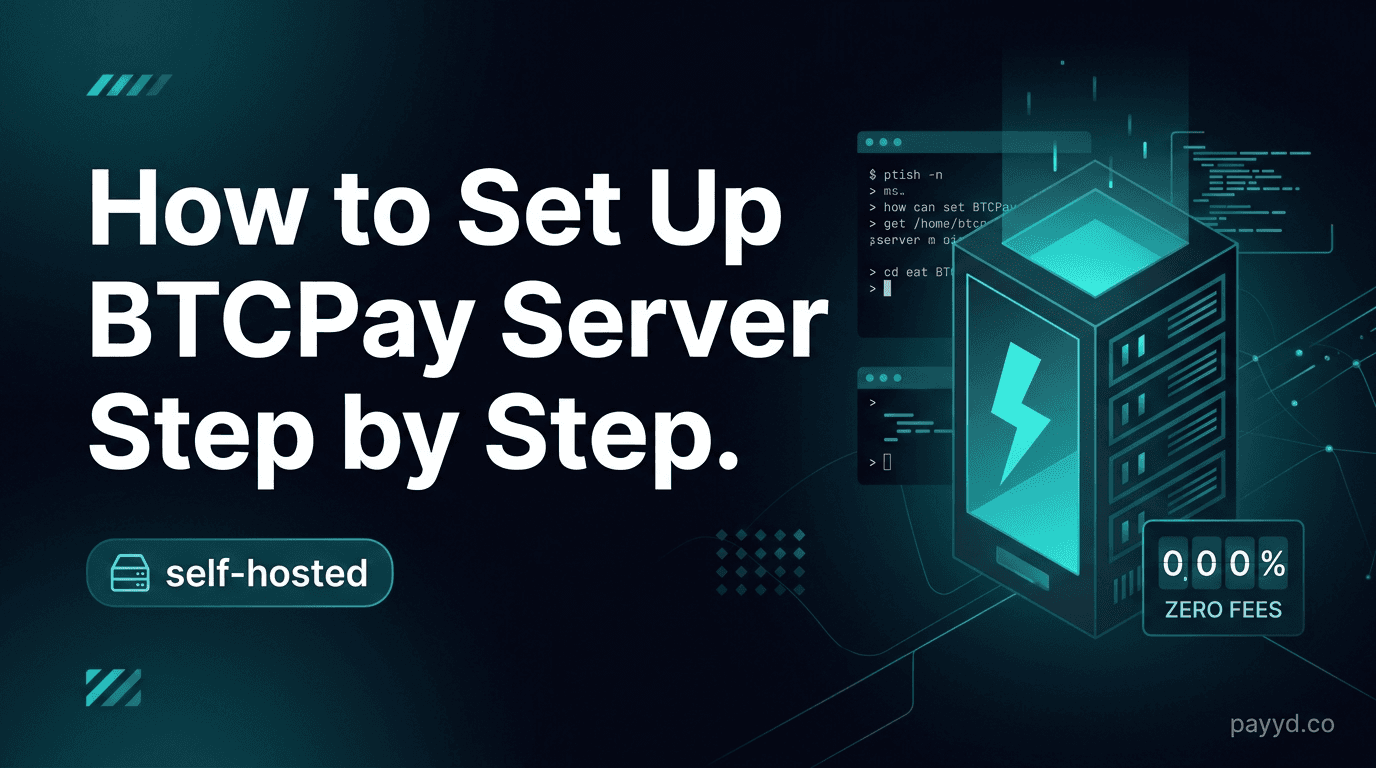
How to Set Up BTCPay Server Step by Step (2026 Guide)
Deploy BTCPay Server on a VPS, connect your wallet, install plugins, and start accepting Bitcoin at 0% fees. The complete self-hosting guide with screenshots.
Key Takeaways
- BTCPay Server runs on a $5-20/month VPS — that's your only cost. Zero transaction fees forever
- The setup takes 30-60 minutes if you follow this guide. No prior server experience needed
- You get: Lightning Network, WooCommerce plugin, POS terminal, invoicing — all free
- At $10K/month volume, BTCPay saves $1,200-3,600/year vs paid gateways
Table of Contents
BTCPay Server is the only crypto payment gateway that's truly free — no transaction fees, no monthly fees, no hidden charges. The trade-off: you host it yourself. This guide walks you through the entire setup, from VPS provisioning to accepting your first Bitcoin payment.
Requirements
- VPS: 2GB RAM, 80GB SSD minimum (Bitcoin only). 4GB RAM, 500GB SSD for full node + Lightning
- Domain name: btcpay.yourdomain.com (or any subdomain)
- Budget: $5-20/month for the VPS. That's your only cost
- Time: 30-60 minutes for initial setup
- SSH access: basic command line skills (we'll guide you through every command)
Step 1: Get a VPS
Recommended VPS providers:
- Lunanode — $5/month, BTCPay-optimized, pay with Bitcoin
- Hetzner — $5-10/month, European data centers, great performance
- DigitalOcean — $12/month, well-documented, reliable
- Vultr — $6/month, global locations, hourly billing
Choose Ubuntu 22.04 LTS as the OS. At least 2GB RAM and 80GB SSD.
Step 2: Install BTCPay Server
SSH into your VPS and run the one-liner installer:
# Set environment variables

export BTCPAY_HOST="btcpay.yourdomain.com"

export NBITCOIN_NETWORK="mainnet"

export BTCPAYGEN_CRYPTO1="btc"

export BTCPAYGEN_LIGHTNING="clightning"

export BTCPAYGEN_REVERSEPROXY="nginx"

export BTCPAY_ENABLE_SSH=true


# Run the installer

sudo su -

mkdir -p /root/BTCPayServer/btcpayserver-docker

cd /root/BTCPayServer/btcpayserver-docker

git clone https://github.com/btcpayserver/btcpayserver-docker .

. ./btcpay-setup.sh -i
The installer downloads Docker, pulls the BTCPay images, configures Nginx with automatic SSL (Let's Encrypt), and starts all services. This takes 10-15 minutes. When it finishes, visit https://btcpay.yourdomain.com — you should see the BTCPay Server setup wizard.
Step 3: Connect Your Wallet
- Create an account on your BTCPay Server
- Create a Store (e.g., "My Business")
- Go to Store → Wallets → Bitcoin → Setup → Connect existing wallet
- Enter your xpub key from your hardware wallet (Ledger: Bitcoin app → Account → Show xpub)
- BTCPay generates unique receiving addresses from your xpub — funds go directly to your hardware wallet
Important: Never enter your seed phrase into BTCPay. Only the xpub (extended public key). This lets BTCPay generate receiving addresses without ever having the ability to spend your funds.
Step 4: Enable Lightning Network
If you included Lightning in the setup (BTCPAYGEN_LIGHTNING="clightning"), it's already running. To configure:
- Go to Store → Lightning → Settings
- Fund your Lightning node — send BTC to the on-chain address shown
- Open channels — BTCPay can auto-open channels, or connect manually to peers
- Test with a small Lightning payment
Lightning enables instant payments with fees under $0.01. Essential for in-store POS where customers can't wait 10+ minutes for on-chain confirmation. See our Lightning Network guide.
Step 5: Connect to Your Store
WooCommerce
- Install the "BTCPay for WooCommerce V2" plugin
- In BTCPay: Store → Access Tokens → Create token for WooCommerce
- In WooCommerce: Settings → Payments → BTCPay → paste the server URL and token
- Test checkout — "Pay with Bitcoin" should appear at checkout
Shopify
- In BTCPay: Store → Shopify → follow the integration wizard
- Add BTCPay as an alternative payment method in Shopify admin
POS (Point of Sale)
- In BTCPay: Plugins → Point of Sale → Enable
- Configure your product catalog or use keypad mode for custom amounts
- Open the POS URL on a tablet or phone at your checkout counter
Tips & Troubleshooting
- Initial sync takes 12-24 hours — the Bitcoin blockchain needs to download (~500GB). Don't test payments until sync is complete
- Use pruned mode if disk space is limited — add BTCPAYGEN_ADDITIONAL_FRAGMENTS="opt-save-storage" to save ~400GB
- Auto-update: BTCPay updates automatically via Docker. Check for updates:
cd /root/BTCPayServer/btcpayserver-docker && ./btcpay-update.sh - Backup: your xpub + BTCPay database. Run
./btcpay-backup.shweekly - SSL issues: ensure your domain's DNS A record points to your VPS IP. Let's Encrypt handles the rest
FAQ
How much does BTCPay Server cost to run?
$5-20/month for a VPS. That's it. Zero transaction fees. At $10K/month in crypto volume, you'd pay $50-100/month with NOWPayments (0.5%) or $100/month with BitPay (1%). BTCPay saves $600-1,200/year at that volume.
Do I need Linux experience?
Basic familiarity with SSH and command line helps, but the one-liner installer handles everything. If you can copy-paste commands into a terminal, you can set up BTCPay Server.
Can BTCPay accept coins besides Bitcoin?
BTCPay primarily supports Bitcoin (on-chain + Lightning) and Monero. For multi-coin support (300+ coins), use NOWPayments or BlockBee. For self-hosted stablecoin payments, see PayRam.